Field group setup

Field group
setup guide

Follow the complete setup flow for Custom Field Suite (CFS) and atshift Fields, from creating a field group to displaying it on the WordPress editing screen.

Overview

How the editor is organized

A field group contains field definitions and placement rules. Fields define what editors enter, while placement rules determine which post editing screens display the group.

The atshift Fields field group editor
Add fields, reorder them by drag and drop, and manage placement rules from one screen.
01

Create

Create a field group

  1. Open Settings → atshift Fields in WordPress.
  2. Select Add New and enter a descriptive group title.
  3. Use Add New Field to create the first field.

Naming examples: Product details, Company profile, or Event details make the group's purpose easy to recognize.

02

Configure fields

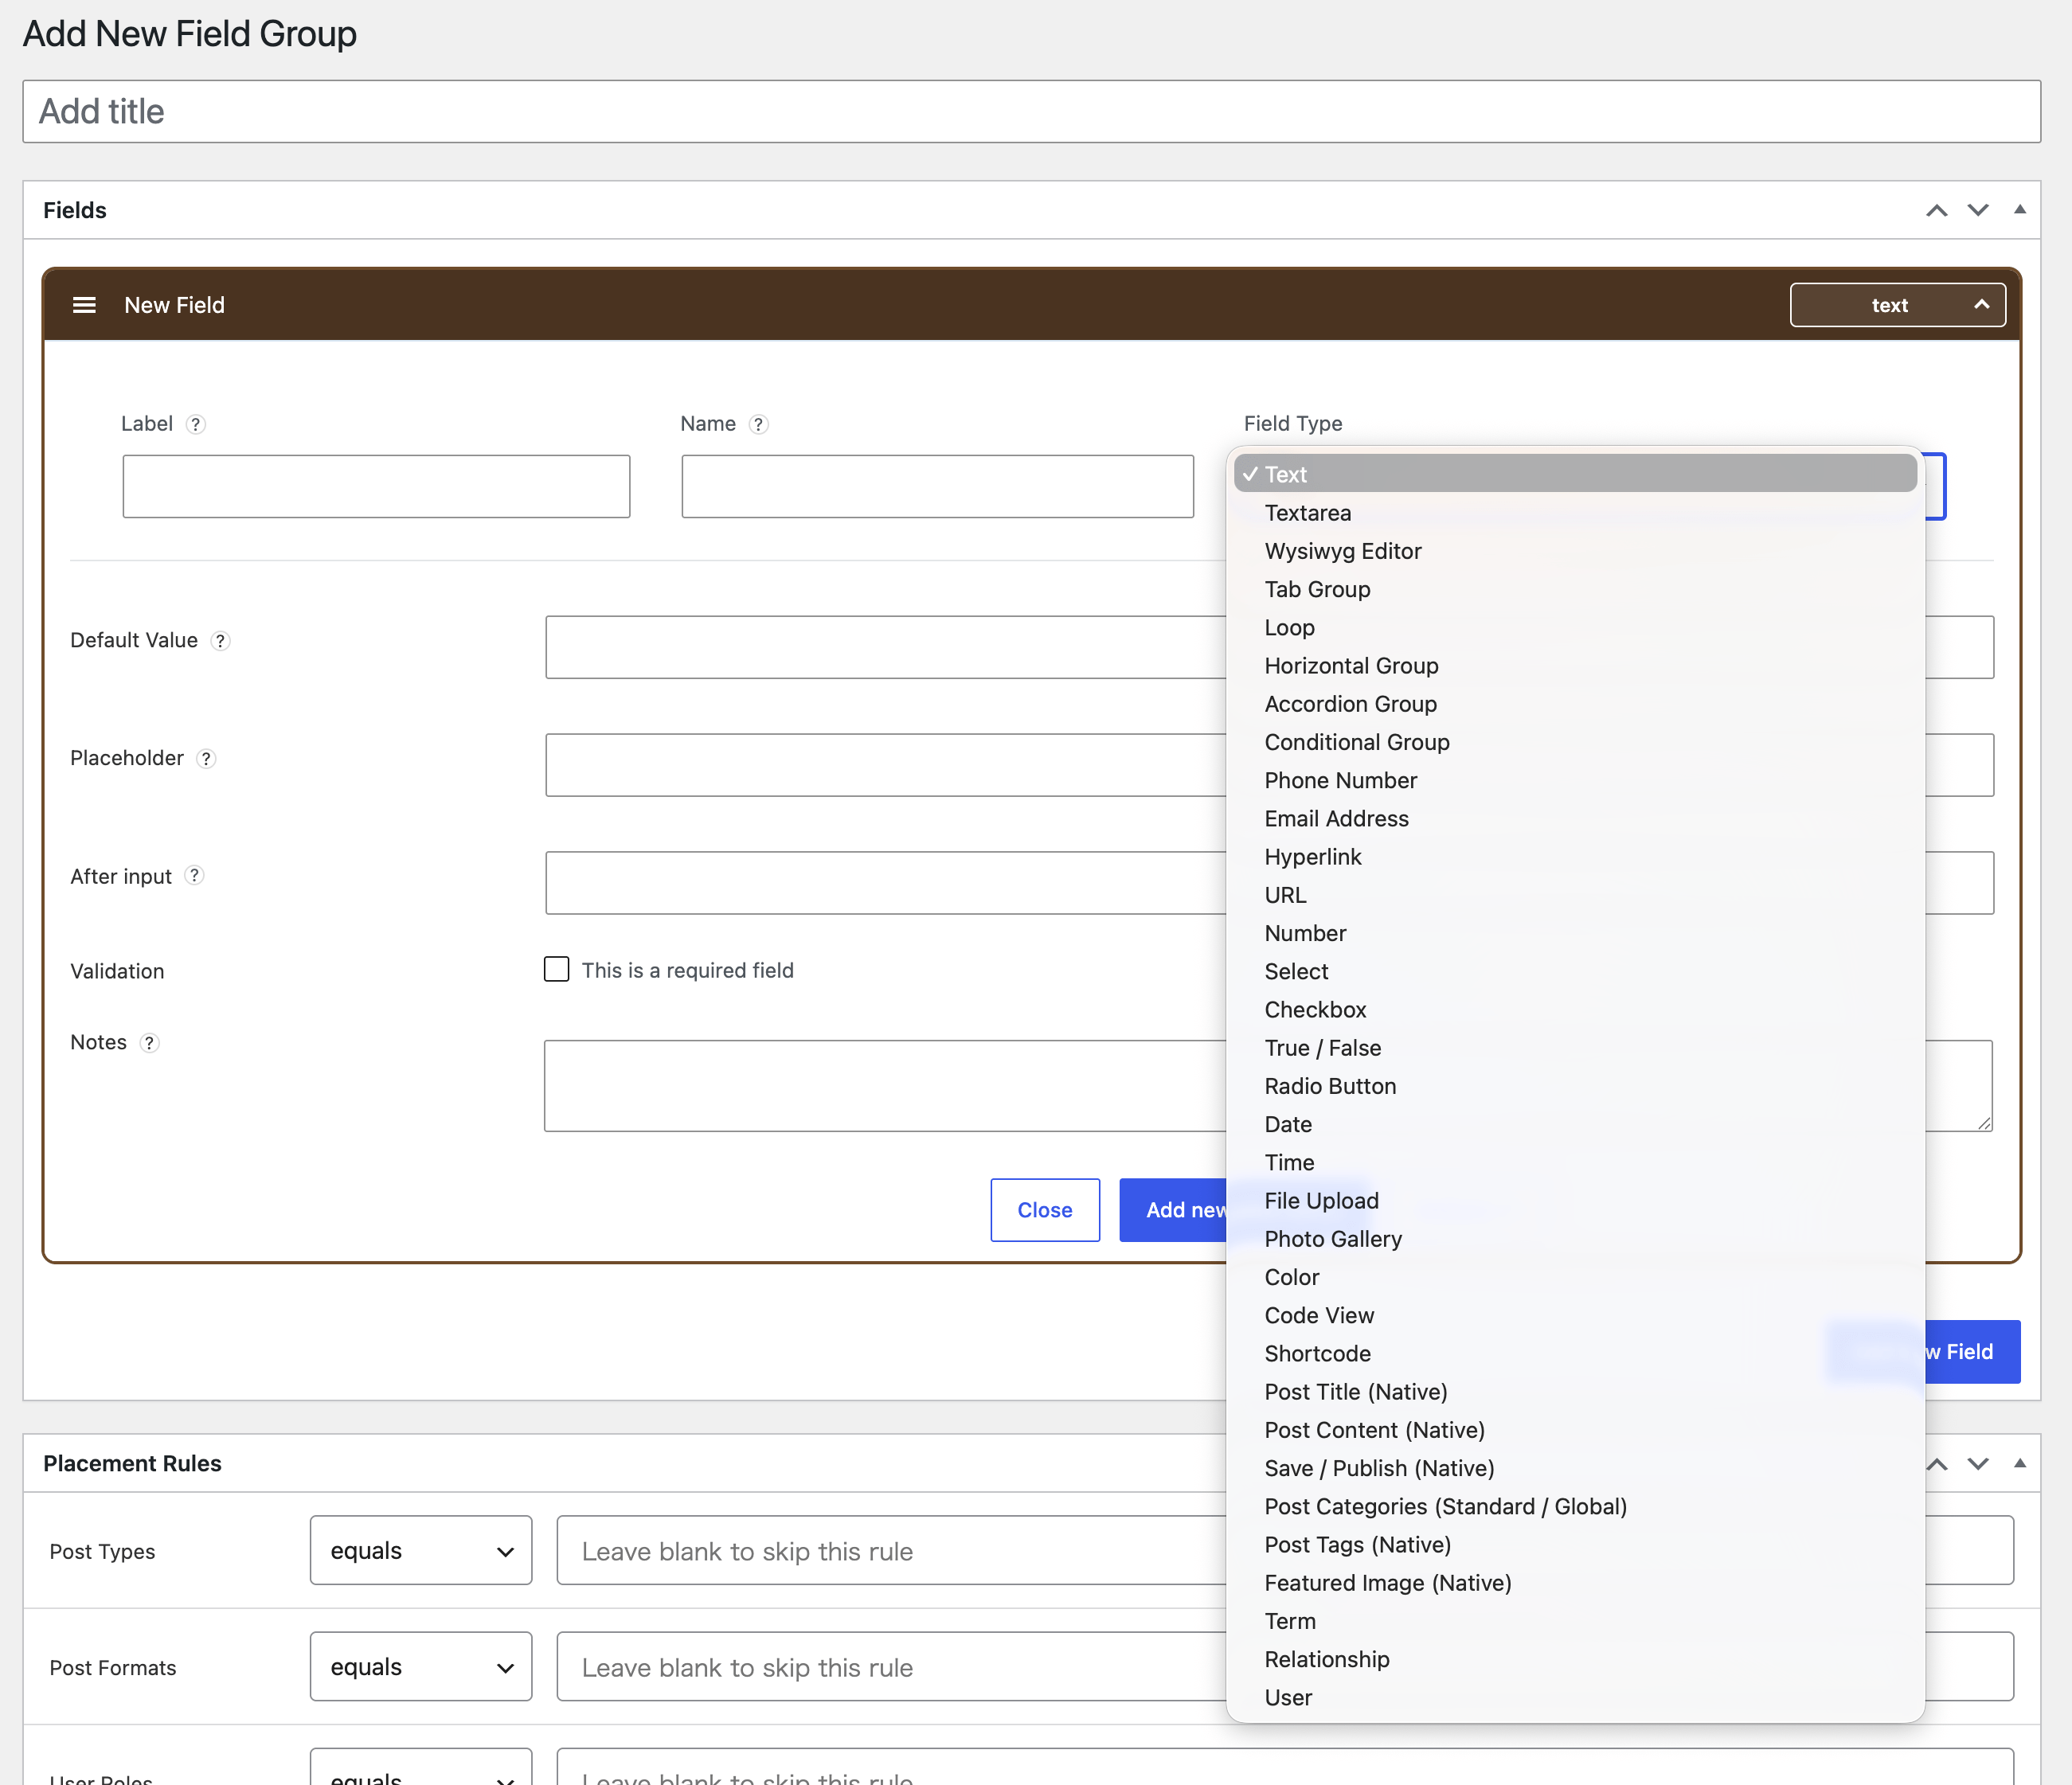
Set the label, name, and type

Label
The human-readable name shown to editors.
Name
The unique identifier used by CFS()->get( 'field_name' ). Use letters, numbers, and underscores.
Field type
Select text, date, file, choices, loop, or another type that matches the content.
Instructions
Add helpful context for the person entering content.

Type-specific options

Choosing a field type displays its available options. Configure validation, default values, placeholders, choices, return values, and other settings as needed.

Default value and placeholder

A default value supplies an initial value. A placeholder is an example or hint that disappears when a value is entered.
03

Order

Reorder with drag and drop

Drag a field by its header to change its position on the post editing screen. The Add New Field Below control inserts a new field directly where you need it.

  • Arrange fields in the order editors complete them.
  • Keep related inputs together.
  • Review type-specific options after changing a field type.
04

Structure

Organize complex inputs

Loop (repeating fields)

Use a loop for repeatable groups of inputs. Drag child fields inside it and configure the row label, button label, and minimum or maximum rows.

Horizontal group

Arrange two to four related fields side by side. Choose the column count and even or left alignment. Fields stack on narrow screens.

Accordion

Place child fields in a collapsible section and choose whether it opens by default.

Tab

Split a large set of inputs into tabs. The tab itself does not store a value.

Conditional Group

Show or hide child fields according to a choice. Select Radio Button or Dropdown, define the choices, then drag child fields inside the group. Use each child's Display for choice setting to assign the choice that reveals it.

Initial display

Radio buttons initially show the branch matching the default value. Dropdowns begin with “Please select...” and reveal a branch after selection. Stored values in hidden branches are retained.

Important: Loops, horizontal groups, accordions, and tabs organize the editing interface. A Conditional Group also stores its selected value. Retrieve child values using each child's field name.

05

Placement rules

Choose where the group appears

Placement rules control which editing screens display the field group. A typical rule is Post Type equals Post or Post Type equals Page.

Post typePost formatUser roleSpecific postsTermsPage template
When no placement rule is set

The group appears on every editable post screen. Unless this is intentional, add at least one condition such as Post Type.

06

Publish and enter

Publish and enter content

  1. Review the settings and publish or update the field group.
  2. Open a post or page that matches the placement rules.
  3. Enter values in the displayed fields and update the post.
  4. Retrieve each value using its field name in your theme.

Open the output reference

07

Replacing upstream CFS

When replacing the original plugin

The main data structure and API compatibility are preserved. Before replacing the plugin on a production site, back up the database and original plugin files and test on staging.

  • Do not activate the original plugin and atshift Fields together.
  • Verify existing field groups, stored content, and theme output.
  • Fields added by atshift Fields are unavailable in the original plugin.
  • If you use Add-ons, check whether their features overlap with fields included in atshift Fields.
If you use Add-ons

Add-ons that overlap with fields added by atshift Fields, such as radio buttons or checkboxes, may use different stored-value formats or label retrieval methods. Theme output may therefore require changes. Disable the relevant Add-on and verify on staging that existing values are inherited correctly and that data entry, saving, and output continue to work.